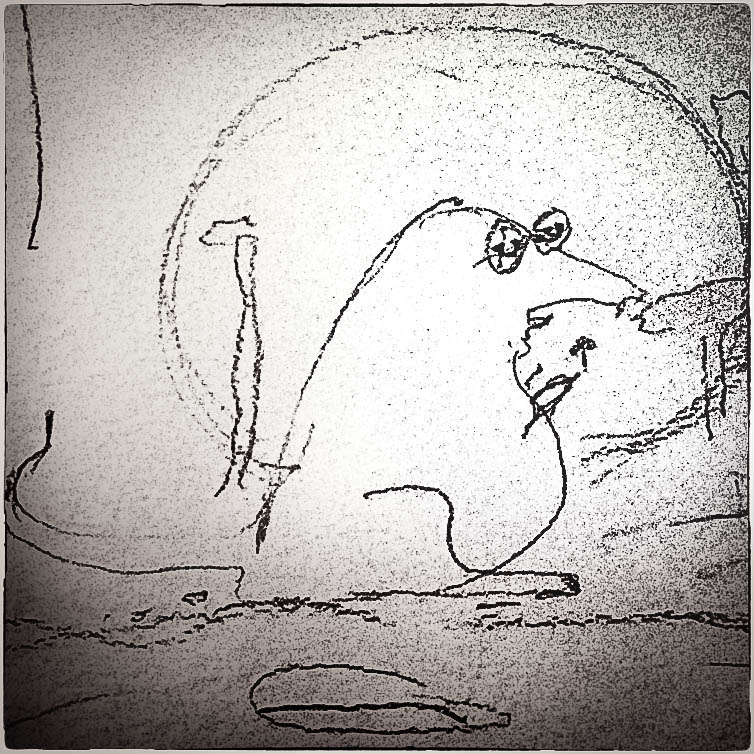
Portraiture is a conscious act of more than one person. It is consensual.
“It is, however, not so much what is depicted as the relationship between the photographer and subject that is significant. Academic painting sanctioned the image of the body in terms of official classic tradition and so does early academic photography, but it does so in terms of its promise of the actual. An image of a body as distinct from the painting of a body insists on a privileged access normally shared only between the artist and (his) model.” (Clark p.124)
Photography in its infancy drew heavily on the painting tradition and a knowledge of portrait painting techniques can support us in mastering portrait photography. That’s why it’s important to look at other photographers’ and artists’ work in some detail.
Listen to Robert Amft on the relationship between painting and photography:
http://www.youtube.com/watch?v=8RN-aN4LQgU
http://robertamft.com/art-of-amft/photography
Amft does prism images and portraits, and digital mosaics.
Exercise: Draw a Portrait
The body in the photograph
The relationship between photographer and sitter is a one-to-one relationship that has predetermined external pressures that the photographer needs to manage during the work.
- Do we pay a photographer to produce this portrait that shows us as handsome or beautiful?
- or do we pay a photographer to produce the truth?
A very common issue with photographers is whether or not they should photograph people they know. Working as a photographer with those we live with or work with is often very frustrating; they won’t do as you ask, they expect you to finish in a matter of seconds, and so on.
The sitter who is a stranger is likely to have a number of questions:
• What is the truth? Will I like it?
• If sitting at the photographer’s request, why me?
• What does the photographer see?
• How will I be portrayed – as clever, intellectual, rich, powerful, ordinary, or even sleazy, cheap or hopeless?
Difficult questions and not a frame shot as yet.
Read Chapter 6 of Graham Clarke’s The Photograph, especially pp.123–43.
This is a very good piece on the body and its use within a range of genres of photographic imagery.
Controlling the elements of portraiture
But despite its consensual nature, portraiture is in the control solely of the photographer???; the sitter can’t see what is happening. This is unlike other areas of work, such as editorial or fashion photography, which often happens in settings that the photographer has no control over.
Painting portraits has provided artists with a way of earning a living since the Renaissance. Aspiring painters with a sufficient level of skill and aptitude would be apprenticed to a great master’s studio (provided they could meet the cost of indenture). Typically, the master painted the faces while the students painted the bodies or perhaps the background detail.
sfumato: a technique to produce the softness and the skin tones necessary for the photorealism their clients demanded.
The photographer for the most part controls the background, pose, clothes, props, lighting and exposure in the consensual act of portrait photography. Of course, these are not really separate
issues – they are inter-related. Change the clothes or the background and you have a very different feel or meaning to the work. People respond to costume and situation and the image
will change accordingly.
So, if all these elements are interlinked, where do we start with this multi-functional task which in practice can resemble a circus plate spinning act – get one thing
right and another is wrong?
Quality of light
A good starting point is the quality of light that falls on the subject.
chiaroscuro: the nature of the light falling on a subject. In harsh light the tonal range decreases. In soft light the tonal range increases – hence the use of softboxes in commercial studios.Let’s return to painting.
Early photographers’ portrait studios used something they
called ‘north light’ from the direction of the roof windows, using blinds and curtains to control where the light fell.
We can use light and dark – contrast and tones – to create shapes and form to portray three-dimensional subjects. A common device in both painting and photographic portraits (eg Rembrandt self-portraits) is to show one side of the face with soft daylight falling on it. On the other side, the shadow of the nose meets the cheek shadow but the eye is still in the light. The face looks rounded or three-dimensional. This can be achieved with a soft light on both sides but exposure becomes critical. You have to ensure that the lighting ratio across the face does not exceed 4:1. That is 8 stops difference for a hand print; if reproduced in a magazine this will have to be considerably reduced.
As a painter Rembrandt has artistic licence – that is, to have shadow areas where he wanted them, vignetting the centre, and small soft pools of light where he saw fit. The genius is that it looks plausible and natural.
David Saffir and Sally Wiener Grotta discuss how their photography has been inspired by Rembrandt’s Night Watch at http://www.youtube.com/watch?v=XJN0pdSv__U
Bill Truran’s portrait of a little girl (more like Vermeer lighting)
The sun is the natural light source that all artificial lighting tries to reproduce but the sun isn’t always the same – it gives us different results on different days dependent upon the time of year and the weather. On a bright day it throws hard shadows, on a grey day soft shadows. Contrast in tone is the issue here. On a sunny day shadows are deep/dark and highlights are bright so there is high contrast. On a cloudy day shadows are mild and highlights are scarce so there is
low contrast.
Outdoor portrait photography
John Freeman: http://www.youtube.com/watch?v=jYlpLRA8Mbw
(www.johnfreeman-photographer.com/ is Japanese!!)
If you’re making a portrait it is perfectly feasible to use the sun as your light source.
But if the subject is facing the sun you may well end up with squinting or some other facial expression that you’d rather avoid. When shooting a subject against the light never look at the sun through your lens – it can severely damage your eye.
It’s normal practice to pose your subject with their back to the sun and use a reflector. In technical terms, this means that you have a main or key light (the reflector) – the light you want to work with – and a secondary light source (the sun) exposing the background and lighting the edges of your subject (e.g. modelling light on the subject’s shoulder or lighting the hair).
Because the reflector isn’t the brighter of the two lights you need to consider your exposure. Where do you meter from? Meter from the face. You can do this by setting your camera to spot meter or – as many professionals still do – by using a light meter. Expose for the face; if you get this right everything else should fall into place.